Tag : linux

Serving in-file covers to MPD

It’s been quite a while that I’m using a MPD server on my raspberry + hifiberry [1] to play my digital music on my amps. It works very well, the sound is very good and I can control it with my phone, laptop, tablet etc…  That is great.

What is less great is that MPD does not transmit covers to its clients (there is already an issue on MPD’s github [2] to let MPD natively find them).

What most clients do is asking you to setup a HTTP server above your music folder so that they can request the cover file with a query like:

GET /music/path/The%20Black%20Keys/Turn%20Blue/cover.jpg HTTP/1.1

This has 2 drawbacks:

  1. You need to leave an access to your music folder to the HTTP server. I’m not found of this. Some people worked around this [3] but meh…
  2. I don’t use cover files next to the songs. Whenever I rip a CD, I like to add the cover within the song files, so that it is nicely shown on my smartphone.

So I made a very simple python app to deal with this : mpdcoverserver. It has two options: a port and a music folder.

When the HTTP server receives :

GET /The%20Black%20Keys/Turn%20Blue/cover.jpg HTTP/1.1

it goes to <music folder>/The Black Keys/Turn Blue/, takes the first song, extracts the cover from it and serves it.

…Very simple…

You an find it there 🙂 : https://github.com/ochurlaud/mpdcoverserver

References

[1] https://www.hifiberry.com/
[2] https://github.com/MusicPlayerDaemon/MPD/issues/42
[3] https://github.com/uriel1998/yolo-mpd/blob/master/webserver_covers.sh

QtCon: Plasma 5 running smooth on ARMv7!

Disclaimer: This is no official announcement, I report something I observed and that I found amazing.

Plasma+ARM

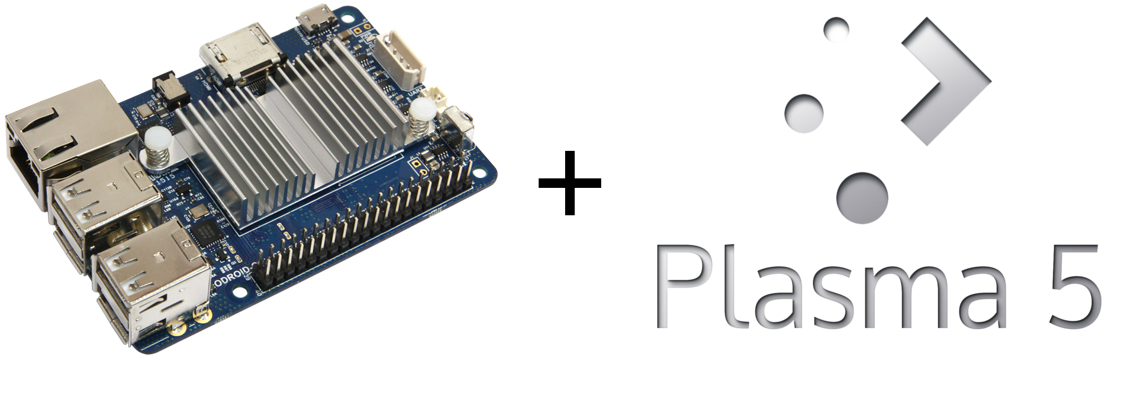
Today at QtCon, I was introduced to a Plasma 5 session running on a Odroid-C1+ (using ARMv7, running Debian).

I was very amazed to see that it runs very smooth, and is very responsive. Moving windows, placing plasmoids on the desktop works with almost no glitch. As email management and file indexing is not really needed in this context, Akonadi and Baloo were disabled. Of course, it’s not very usable for intensive graphic use (watching videos, image editing, etc), but it’s alright for other use-cases.

And hey, the overall RAM use was less than 300 MB! (All together!!)

The take away here is:

If you hear someone saying that Plasma 5 and KDE software are bloated, they don’t know what they are talking about. They are just wrong.

post image

Setting the wifi on the Raspberry Pi with a TL-WN725N v2 adaptor

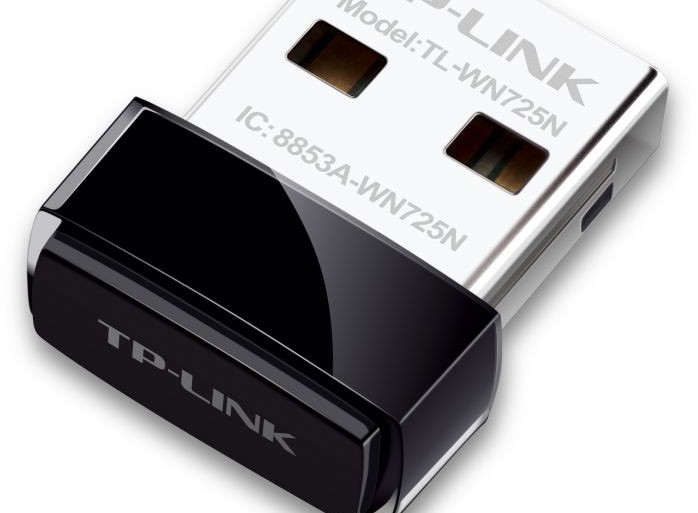
Since the release of the Linux kernel 3.4, the driver RTL8188eu is provided by default, which wasn’t the case some times ago: the TL-WN725N v2 wifi dongle should be working out of the box.

Install what you need

# pacman -S wpa_supplicant
Yes, that’s it… Because netctl is already installed.

Configuration of the wifi

Prepare the WPA key

# wpa_passphrase your_essid 'passphrase'

Put the passphrase between simple quotes to escape special characters.

You should get someting like:

network={
  ssid="your_essid"
  #psk="passphrase"
  psk=64cf3ced850ecef39197bb7b7b301fc39437a6aa6c6a599d0534b16af578e04a
}

Copy the psk value.

Set up netctl

To now the name of the interfaces type:
# ip link show

Here I have lo (loopback interface), eth0 (ethernet), wlan0 (wifi).

In /etc/netctl/wlan0-your_essid

Description='description'
Interface=wlan0
Connection=wireless
Security=wpa
ESSID=your_essid
IP=dhcp
Key=\"64cf3ced850ecef39197bb7b7b301fc39437a6aa6c6a599d0534b16af578e04a

Note that the value of Key is \"[what you copied before]

Test it

# netctl start wlan0-your_essid

If it works it can be enabled at boot.
# netctl enable wlan0-your_essid

If it doesn’t work, you can try to see if the problem comes from the interface or not. Using wifi-menu can be helpful. It’s a dialog in the terminal that makes things easier and in an automatic way. However it seems to have troubles with special characters in the password.

Else follow the sources …

Sources

https://wiki.archlinux.org/index.php/Wireless_network_configuration
https://wiki.archlinux.org/index.php/Netctl

post image

Amarok is slowly catching up

I was previously working on Macaw-Movies (already in the KDE Community) and, after a while, I felt really alone and wasn’t so sure if a movie organizer still made sense in this all-connected time, where you can stream whatever you are interested in.

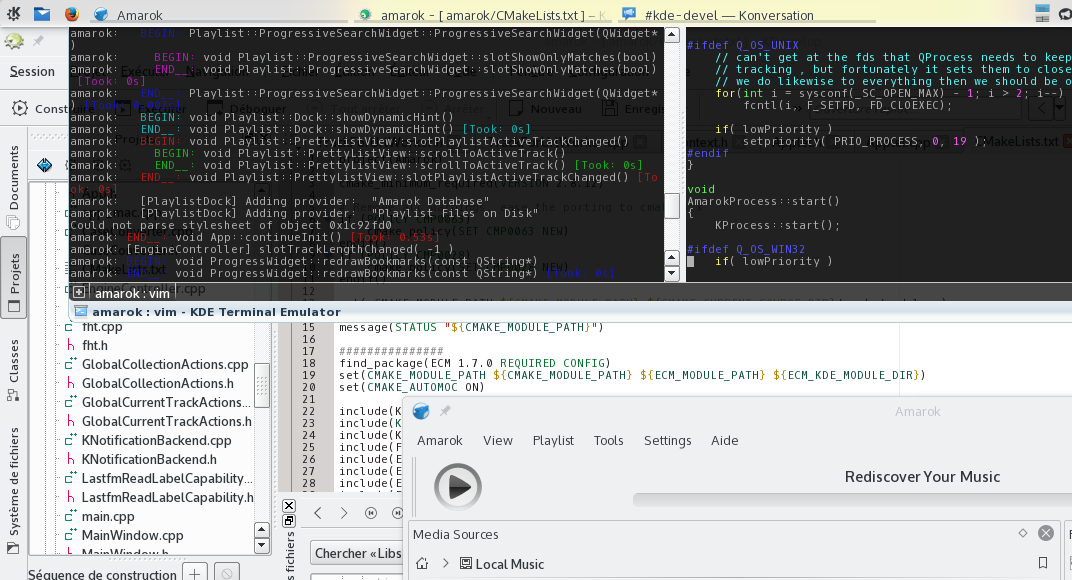
I finally went to the Amarok guys, cloned the source and began to help to port it to the Frameworks.

The plan

Aroonav (roguedragon) did his GSoC on this topic [1]. And I catch up at the end of August.

What is the plan? In theory it was this:

  1. Remove all KDELibs from the dependencies
  2. Port the CMakeLists.txt
  3. Get to 100% of build
  4. Start the program without segmentation faults
  5. Port the tests
  6. Release and Party
  7. When sober again, port out of KDELibs4Support

In practice, build 100% is quite hard because as you may know, Amarok has a context part (in the middle by default) that relies comprehensively on Plasma (from KDELibs) and QGraphics(Item|Scene|...). This whole thing must be totally rewritten, from scratch, in QML. And that’s a hell of a work!

I decided at a certain point to directly port the main components out of KDELibs4Support. No more KUniqueApplication but a puzzle between KDBus and QApplication.

Where are we now?

Currently we did until 4 (no segmentation faults anymore) but didn’t port the context part. I still have troubles with D-Bus and Amarok cannot exit without being killed.

The unit tests are almost ported [2].

What is the next step?

I’m quite ashamed to say it but I’m always postponing the porting of the context part. I’ve never done any QML in my life, and I think I’ll have a hard time. That’s why I worked on the unit tests, and I’m still tracking some bugs in the current state of the porting.

Before August, I was always writing pure Qt, and never touched to KDELibs nor the Frameworks. I learned a lot of things, thanks to #kde-devel and the kde-devel mailing list. I often felt stupid as dfaure or tsdgeos redirected me to Techbase (because I didn’t know how to setup a good working environment for instance), or when I asked a question which answer was totally obvious… And I think it’s not going to stop before some time.

So see you around,

Cheers and have fun!

Source

[1] http://binaryspring.blogspot.de/
[2] https://git.reviewboard.kde.org/r/126005/

post image

Installing the Raspberry Pi

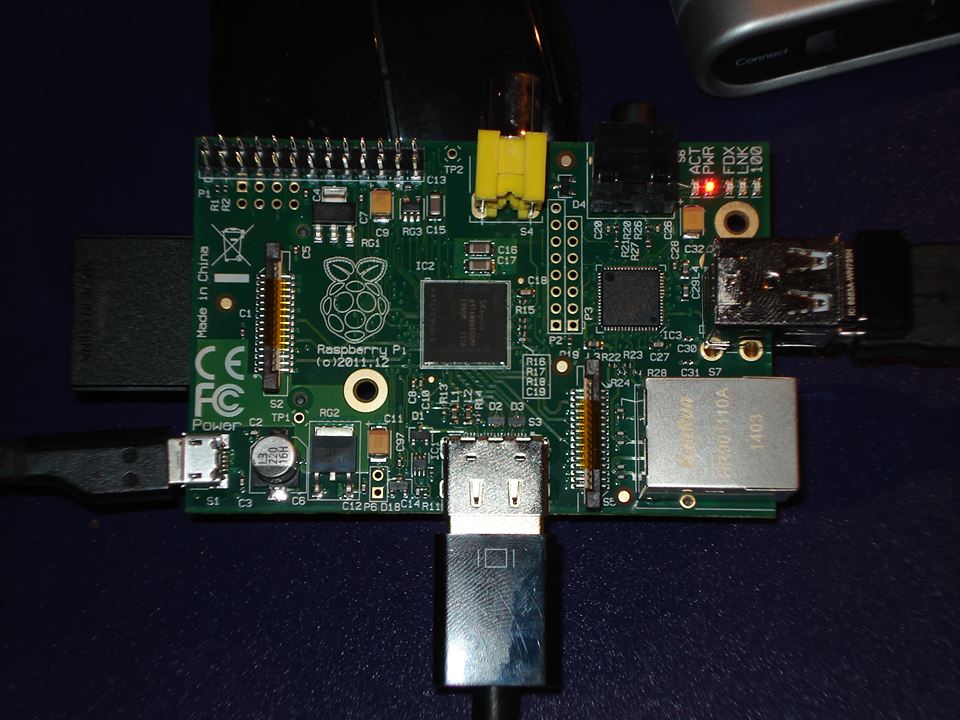
I’ve got this Raspberry Pi 1 Model B for almost 2 years. I did install ArchLinux on it a while ago and played a little. And then, because I had no project it could be used for, I just left it in a closet… Until yesterday, that a friend came out with a good idea.

Let’s start from the beginning again, and see how to install it from scratch.

Prepare the SD Card

Of course, an SD card is needed. 8 Go is really enough.

I followed the documentation of ArchLinux ARM [1], and adapted it to my needs.

In my case the SD Card was referenced in the file system as /dev/mmcblk0. Replace it by the corresponding name on your own system.

Partitioning with fdisk

We only create 3 partitions. The /boot one, the / (root) and the swap (file exchange partition). You could also separate the /home partition from the root one, but on a raspberry, it’s not so relevant[citation needed]. So we’ll have 3 partitions:

  • /dev/mmcblk0p1 for /boot
  • /dev/mmcblk0p2 for /
  • /dev/mmcblk0p3 for the swap

With fdisk [2], nothing is actually done to the disk before you type w in the main menu to write the modification. In case you’re not sure of what you’ve done, exit the program and start again…

# fdisk /dev/mmcblk0

  • Type o to clear all partitions
  • Type p to list all partitions (it should be empty)
1st partition: /boot
  • Type n to add a partitions, then 1 (it’s the first partition), then ENTER to begin on first sector, then +100M for the last sector
  • Type t, then c to set the first partition to type W95 FAT32
2nd partition: /
  • Type n to add a partitions, then ENTER (it’s the second partition), then ENTER to begin on next sector, then +XXXM for the last sector with XXX = total_size-1G
  • Type t, then 83 to set the first partition to type Linux
3rd partition: swap
  • Type n to add a partitions, then ENTER (it’s the third partition), then ENTER to begin on next sector, then ENTER for the last sector
  • Type t, then 82 to set the first partition to type Linux Swap

The partition table can no be written and exited with w

Creation of the filesystems

# mkfs.vfat /dev/mmcblk0p1
# mkfs.ext4 /dev/mmcblk0p2

Populationg the filesytems

First mount the partitions:
$ mkdir {boot,root}
# mount /dev/mmcblk0p1 boot
# mount /dev/mmcblk0p2 root

Download and extract the root filesystem:
$ wget http://archlinuxarm.org/os/ArchLinuxARM-rpi-latest.tar.gz
# bsdtar -xpf ArchLinuxARM-rpi-latest.tar.gz -C root
# sync

Move boot files to the first partition:
# mv root/boot/* boot

Unmounting the partitions and starting the Raspberry

Unmount the two partitions:
# umount boot root

The SD card can now be inserted into the Raspberry Pi. When the Raspberry Pi came out, you first add to connect to a screen and keyboard to go through the installation, configure the connection and ssh. But hopefully, you can now directly connect with the ethernet, and apply the 5V power. Then use the SSH to the IP address given to the board by your router/DHCP. Login as the default user alarm with the password alarm. The default root password is root.

ssh alarm@alarmpi

Setup the swap

Check that the swap is off (the next command shouldn’t output anything):
# swapon -s

Setup the swap partition (remember: ours is the 3rd one) and turn it on:
# mkswap /dev/mmcblk0p3
# swapon /dev/mmcblk0p3

Systemd will by default start it at boot.

Setup the environment

Accounts

Change the root password:
# passwd

Add your user account:
# useradd -c MyName -md /home/mylogin mylogin
# passwd mylogin

Install the basic packages

# pacman -S --needed base-devel
# pacman -S vim zsh python ...

You now have a simple ArchLinux on your Raspberry Pi, that you can use like any other Linux system…

Sources

[1] http://archlinuxarm.org/platforms/armv6/raspberry-pi
[2] http://tldp.org/HOWTO/Partition/fdisk_partitioning.html
[3] https://wiki.archlinux.org/index.php/Swap