Installing the Raspberry Pi
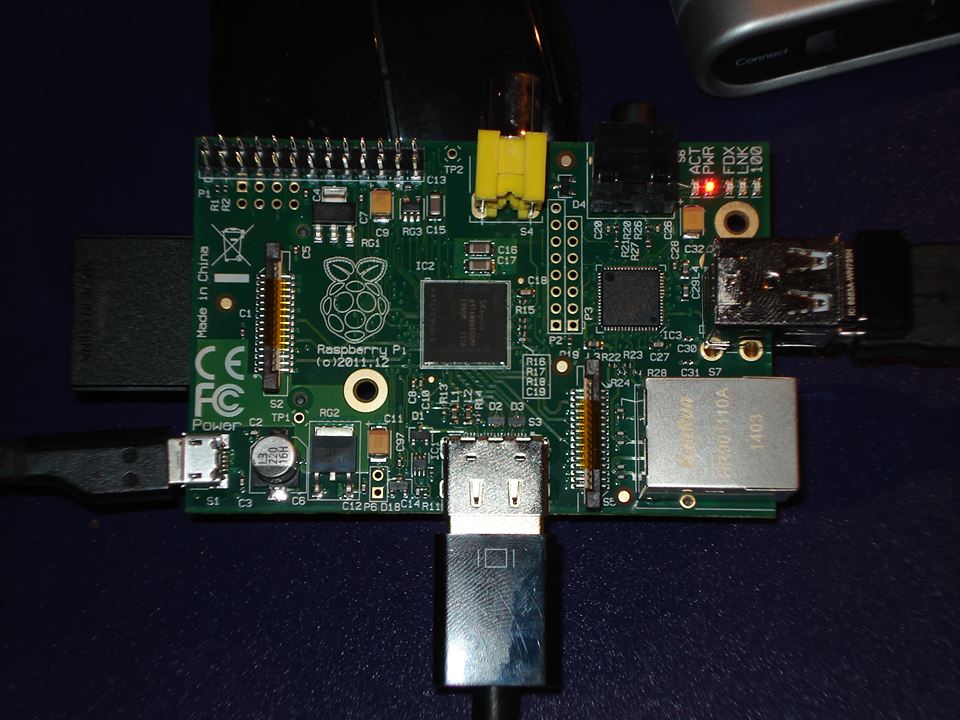
I’ve got this Raspberry Pi 1 Model B for almost 2 years. I did install ArchLinux on it a while ago and played a little. And then, because I had no project it could be used for, I just left it in a closet… Until yesterday, that a friend came out with a good idea.
Let’s start from the beginning again, and see how to install it from scratch.
Prepare the SD Card
Of course, an SD card is needed. 8 Go is really enough.
I followed the documentation of ArchLinux ARM [1], and adapted it to my needs.
In my case the SD Card was referenced in the file system as /dev/mmcblk0. Replace it by the corresponding name on your own system.
Partitioning with fdisk
We only create 3 partitions. The /boot one, the / (root) and the swap (file exchange partition). You could also separate the /home partition from the root one, but on a raspberry, it’s not so relevant
- /dev/mmcblk0p1 for /boot
- /dev/mmcblk0p2 for /
- /dev/mmcblk0p3 for the swap
With fdisk [2], nothing is actually done to the disk before you type w in the main menu to write the modification. In case you’re not sure of what you’ve done, exit the program and start again…
# fdisk /dev/mmcblk0
- Type o to clear all partitions
- Type p to list all partitions (it should be empty)
1st partition: /boot
- Type n to add a partitions, then 1 (it’s the first partition), then ENTER to begin on first sector, then +100M for the last sector
- Type t, then c to set the first partition to type W95 FAT32
2nd partition: /
- Type n to add a partitions, then ENTER (it’s the second partition), then ENTER to begin on next sector, then +XXXM for the last sector with XXX = total_size-1G
- Type t, then 83 to set the first partition to type Linux
3rd partition: swap
- Type n to add a partitions, then ENTER (it’s the third partition), then ENTER to begin on next sector, then ENTER for the last sector
- Type t, then 82 to set the first partition to type Linux Swap
The partition table can no be written and exited with w
Creation of the filesystems
# mkfs.vfat /dev/mmcblk0p1

# mkfs.ext4 /dev/mmcblk0p2
Populationg the filesytems
First mount the partitions:
$ mkdir {boot,root}

# mount /dev/mmcblk0p1 boot

# mount /dev/mmcblk0p2 root
Download and extract the root filesystem:
$ wget http://archlinuxarm.org/os/ArchLinuxARM-rpi-latest.tar.gz
# bsdtar -xpf ArchLinuxARM-rpi-latest.tar.gz -C root

# sync
Move boot files to the first partition:
# mv root/boot/* boot
Unmounting the partitions and starting the Raspberry
Unmount the two partitions:
# umount boot root
The SD card can now be inserted into the Raspberry Pi. When the Raspberry Pi came out, you first add to connect to a screen and keyboard to go through the installation, configure the connection and ssh. But hopefully, you can now directly connect with the ethernet, and apply the 5V power. Then use the SSH to the IP address given to the board by your router/DHCP. Login as the default user alarm with the password alarm. The default root password is root.
ssh alarm@alarmpi
Setup the swap
Check that the swap is off (the next command shouldn’t output anything):
# swapon -s
Setup the swap partition (remember: ours is the 3rd one) and turn it on:
#  mkswap /dev/mmcblk0p3

# swapon /dev/mmcblk0p3
Systemd will by default start it at boot.
Setup the environment
Accounts
Change the root password:
# passwd
Add your user account:
# useradd -c MyName -md /home/mylogin mylogin

# passwd mylogin
Install the basic packages
# pacman -S --needed base-devel

# pacman -S vim zsh python ...
You now have a simple ArchLinux on your Raspberry Pi, that you can use like any other Linux system…
Sources
[1] http://archlinuxarm.org/platforms/armv6/raspberry-pi
[2] http://tldp.org/HOWTO/Partition/fdisk_partitioning.html
[3] https://wiki.archlinux.org/index.php/Swap
